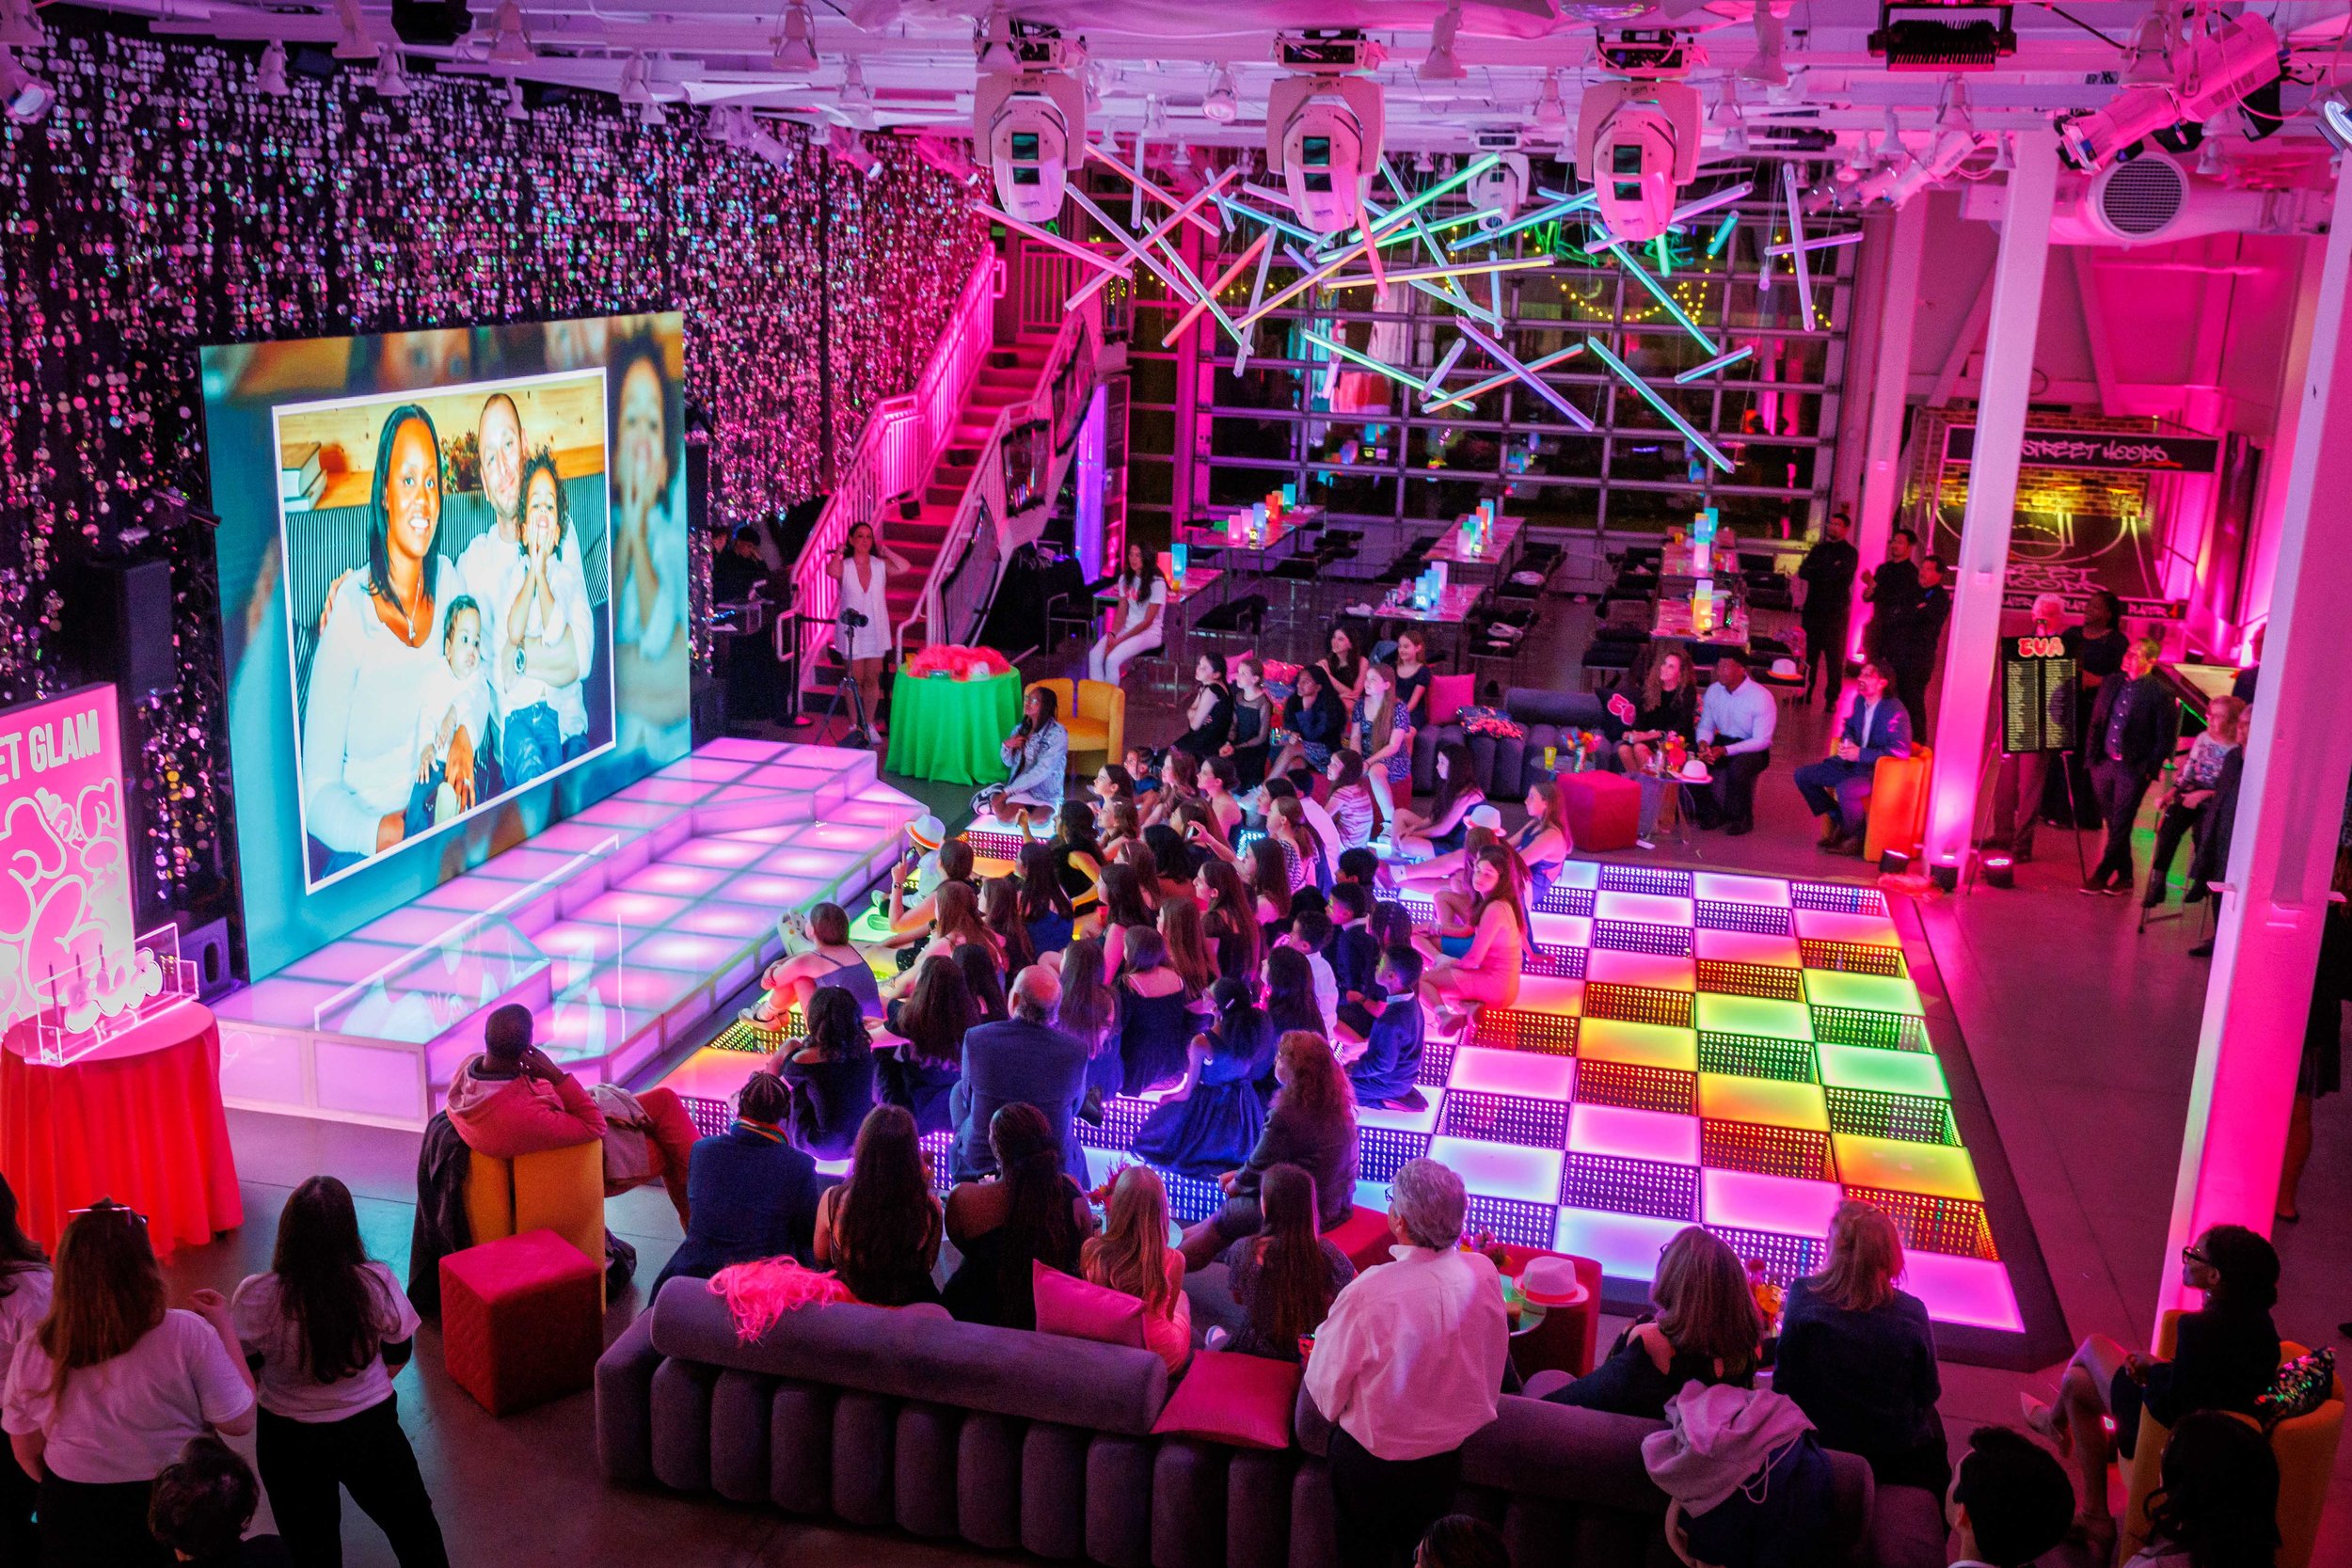
Montage Mastery Or Meltdown: Where Are You Headed?
Image: Planner Janie Haas | Paige Brown Photo | Tyger Productions | Siagel Productions
If you're reading this, chances are you're considering entering the vortex—or black hole—of creating and showing a montage at your event. Montages are a wonderful way to relive life’s most joyous moments. Whether for a family milestone or a corporate celebration, they can help you reflect, share gratitude, and add depth to a special occasion.
But here’s the truth: if you’re not experienced with video production or live audio-visual work, what starts as a heartfelt project can quickly turn into a stressful, time-consuming burden—exactly when you're trying to finalize a hundred other things. This article is your guide to navigating that vortex with less stress, more clarity, and better results.
Understanding the Two Phases of a Montage
A successful montage has two distinct stages:
The Making of the Montage – This requires organization, time, and some technological know-how.
The Showing of the Montage – This happens live at your event and involves the often-overlooked world of live audio-visual (AV) production.
Let’s explore both.
Phase One: Making the Montage
Step One: Decide Who's Making It
Start by asking yourself the most important question:
Are you going to make the montage, or will someone else?
Be honest. If you’ve never edited a video, trying to learn in the final month before your event is not a good idea. Even if you outsource the editing, you'll still need to gather and organize the content, which takes more time than people expect.
What You’ll Need
At a minimum, you'll need:
Photos (preferably horizontal/landscape)
Video clips
Logos or title slides
Music tracks (usually 4–5 to match the length of your video)
And these must be actual files. That means:
No Apple Shared Albums.
No Spotify playlists.
No YouTube links.
Files should live on your desktop, organized in a dedicated folder. Name them in sequence using numbers:
01.jpg, 02.jpg, 03.mp4... and so on.
Avoid special characters or creative titles. Keep it simple. This organization makes editing much faster—whether you're doing it or handing it off.
DIY Tools & Tips
If you’re making the montage yourself, iMovie is a user-friendly choice. Online editors can be tempting, but they often limit your audio usage due to copyright restrictions.
When editing:
Crop and scale each image to fill the screen (landscape photos work best).
Portrait images leave black bars on the sides, which aren’t flattering.
Don’t just plug a USB drive into a TV—it’s not professional. You’ll end up with flipped, cropped, or poorly sized images.
Music Matters
Pick songs that mean something to you—but make sure they are:
Legally downloaded MP3 files (Amazon is a good source).
Stored locally (again, not streaming links).
Match the number of songs to the video’s length—typically 4 or 5 for a “stop and show” montage.
Export Smartly
Final format should be:
MP4 video
720p or 540p resolution
Not .mov or 1080p+ (Your original footage likely isn’t ultra-HD, so higher resolution just creates unnecessarily large files.)
Keep it compact and compatible. This makes sharing and transferring much easier.
Phase Two: Showing the Montage
Now that you’ve made the video, let’s talk about showing it live. This part is just as critical—but often overlooked.
Two Types of Montage Presentations
Stop and Show
Everyone pauses to watch.
Typically during dessert or a quiet moment.
Includes audio, so it must be loud and clear.
Looping Montage
Silent, continuous playback in the background.
Used during cocktails or throughout the evening.
No sound—purely visual.
AV Setup: What You Need to Know
A common mistake: thinking that office AV experience = event AV readiness. Setting up a projector in a boardroom is not the same as producing a clean, professional playback at a formal celebration.
For a stop and show, the ideal setup is:
Large TV screens or a video wall near the dance floor.
Positioned so people can see without getting up.
Connected to a sound system with tested audio levels.
Budget Option: Pop-Up Projector & Screen
Siagel Productions offers a pop-up screen solution, included in some smaller packages. It’s easy to deploy and effective—but comes with limitations:
Takes up a 10x10 ft space.
Visually bulky and not ideal for elegant settings.
Doesn’t work well in bright rooms (projection can get washed out).
Not recommended for looping montages—it’s just too clunky.
When we use this option, a trained technician sets it up quickly, shows the montage, and removes it—all with minimal disruption. We also test everything before your party begins.
Why DIY Showing Is Risky
Unless you have:
A van full of AV gear
An assistant to set it up
Time for a full tech rehearsal
…trying to show a montage yourself is likely to cause stress and disruption on your special day.
Projectors and laptops can be fickle. You don’t want to be fiddling with HDMI cables while everyone waits—or worse, while you’re supposed to be soaking in a once-in-a-lifetime moment.
Final Thoughts: Make It Meaningful, Not Miserable
A montage is a beautiful way to mark time, tell a story, and create an emotional high point. But it’s also a project that requires foresight, time, and respect for the technical details involved.
If you’re planning to DIY, plan early, stay organized, and know your limits.
If you want help, we’re here for that too. Whether you need coaching through the content collection or a full-service edit and display, Siagel Productions can guide you through the process—so your montage leaves people in tears (the good kind) and not you in frustration.
Good luck out there!
Michael Siagel
